no. 1 | let's make: a tomato galette
I'm here for the galette supremacy this summer (sorry, pie). Let's make a playful, delicious version of a savory galette, encapsulating all that is "tomato girl" summer.

Galettes are wonderfully forgiving. Unlike its uptight relative, the pie, you don’t have to par-bake the crust, acquire pie weights, create a fancy lattice (although I love fancy lattices), or any of the nitty-gritty details I commonly associate with this dough. When it comes to the galette, it never requires perfect shaping. It begs for the same treatment as pie dough (butter and water need to be ice-cold, the dough needs to be refrigerated, yada yada), but without all the fuss. When you’re ready to fill it, you simply roll it out, and the ruffled, crinkled edges don’t mock you. They are exactly the way they need to be.
I was sitting at my desk the other day on a meeting with my manager, and my co-worker came up to me and started talking, as she was toting a brown paper bag. I pointed to my AirPods signaling “I’m busy, can’t talk!” She dropped the bag off at my desk and headed back to hers. Around 45 minutes later, I finally hopped off my call and pried open the brown bag, to which my surprise was the most beautiful assortment of tomatoes, presumably from her garden in Novato. This sparked wild excitement. I immediately went to my invisible drawing board and thought, what recipe or cooking adventure is worthy of these little, sugar-sweet beauties? I had to act fast, as they were at the risk of me devouring every last one right there at my desk (I’m not kidding, they were so sweet).
As we all know, it’s a tomato girl summer (and if you don’t, it’s okay, you still have another month or so to catch up). From the succulent, envy-inducing Wishbone Kitchen tomato content to Molly Baz’ tomato ’tinis, there’s no question that tomatoes are having their moment. So as you can guess, the inspiration and accompanying option paralysis is never-ending. At work, I’m dually absorbing the plethora of stunning media and content that our creative studio and art directors are curating, and there’s no question that graphic depictions of food are very in right now. I couldn’t help but want to create something that would preserve the dignity of the incredible flavor of these tomatoes, while still paying homage to their tri-colored beauty.
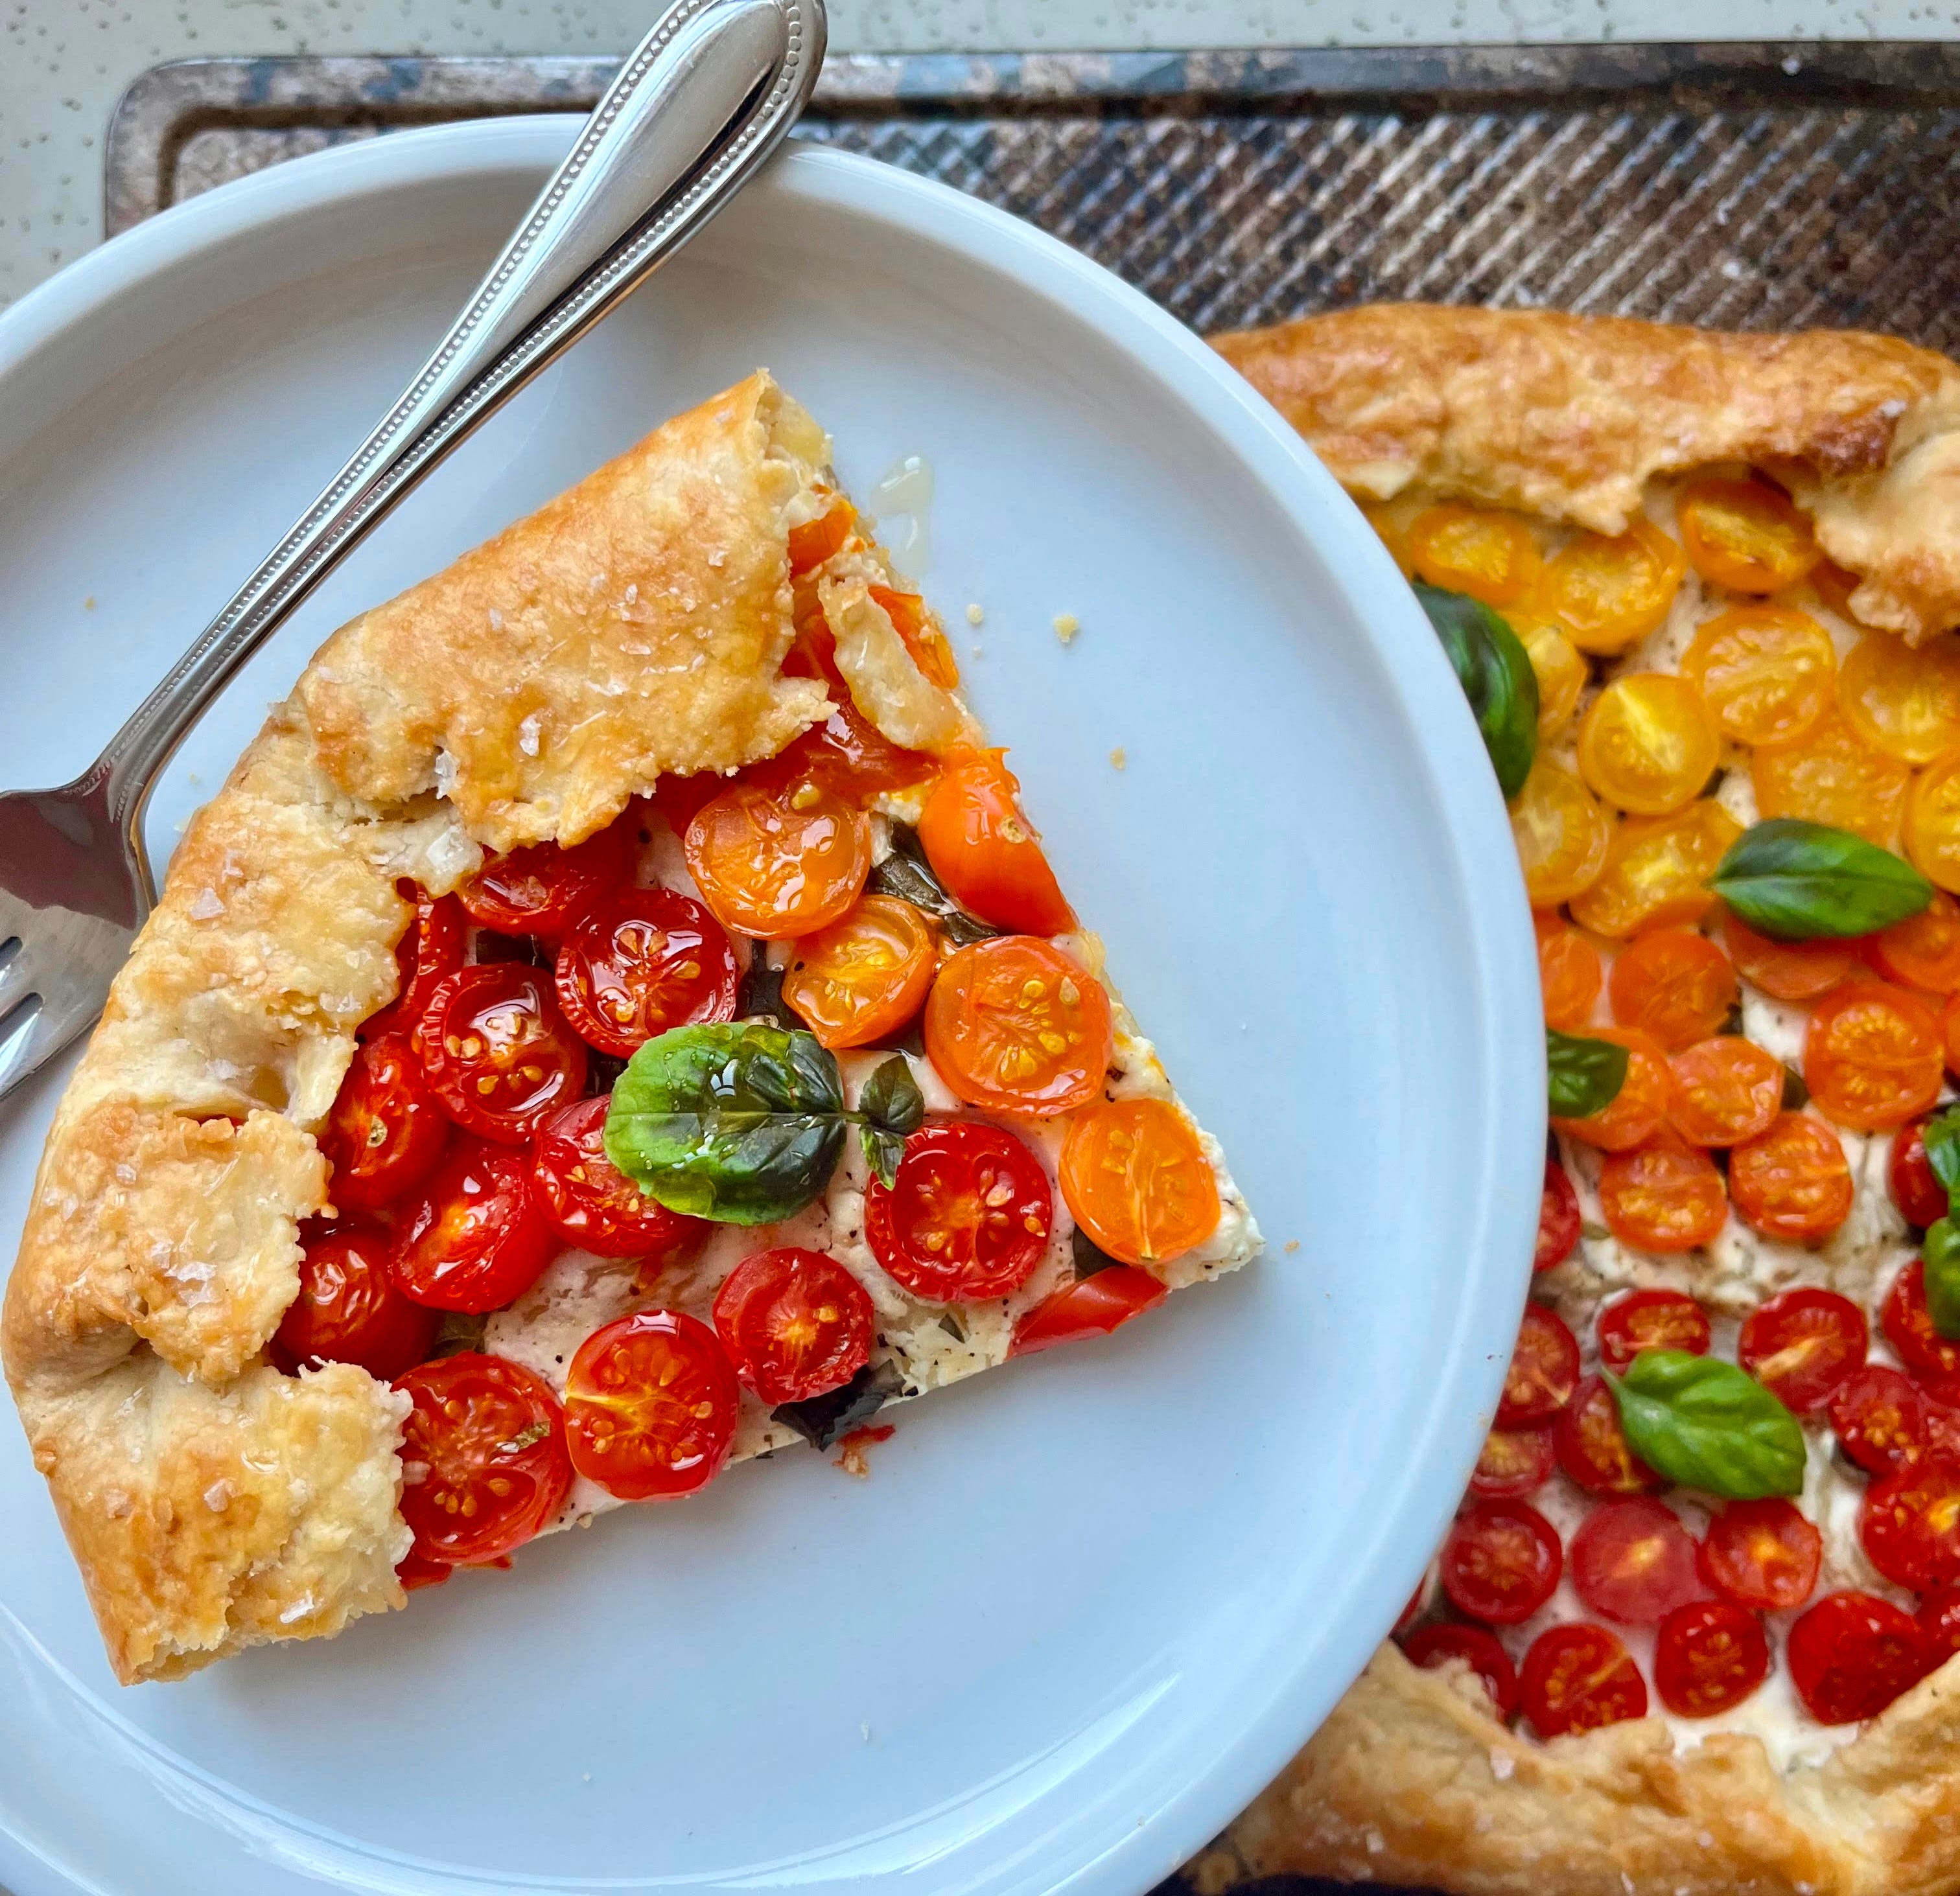
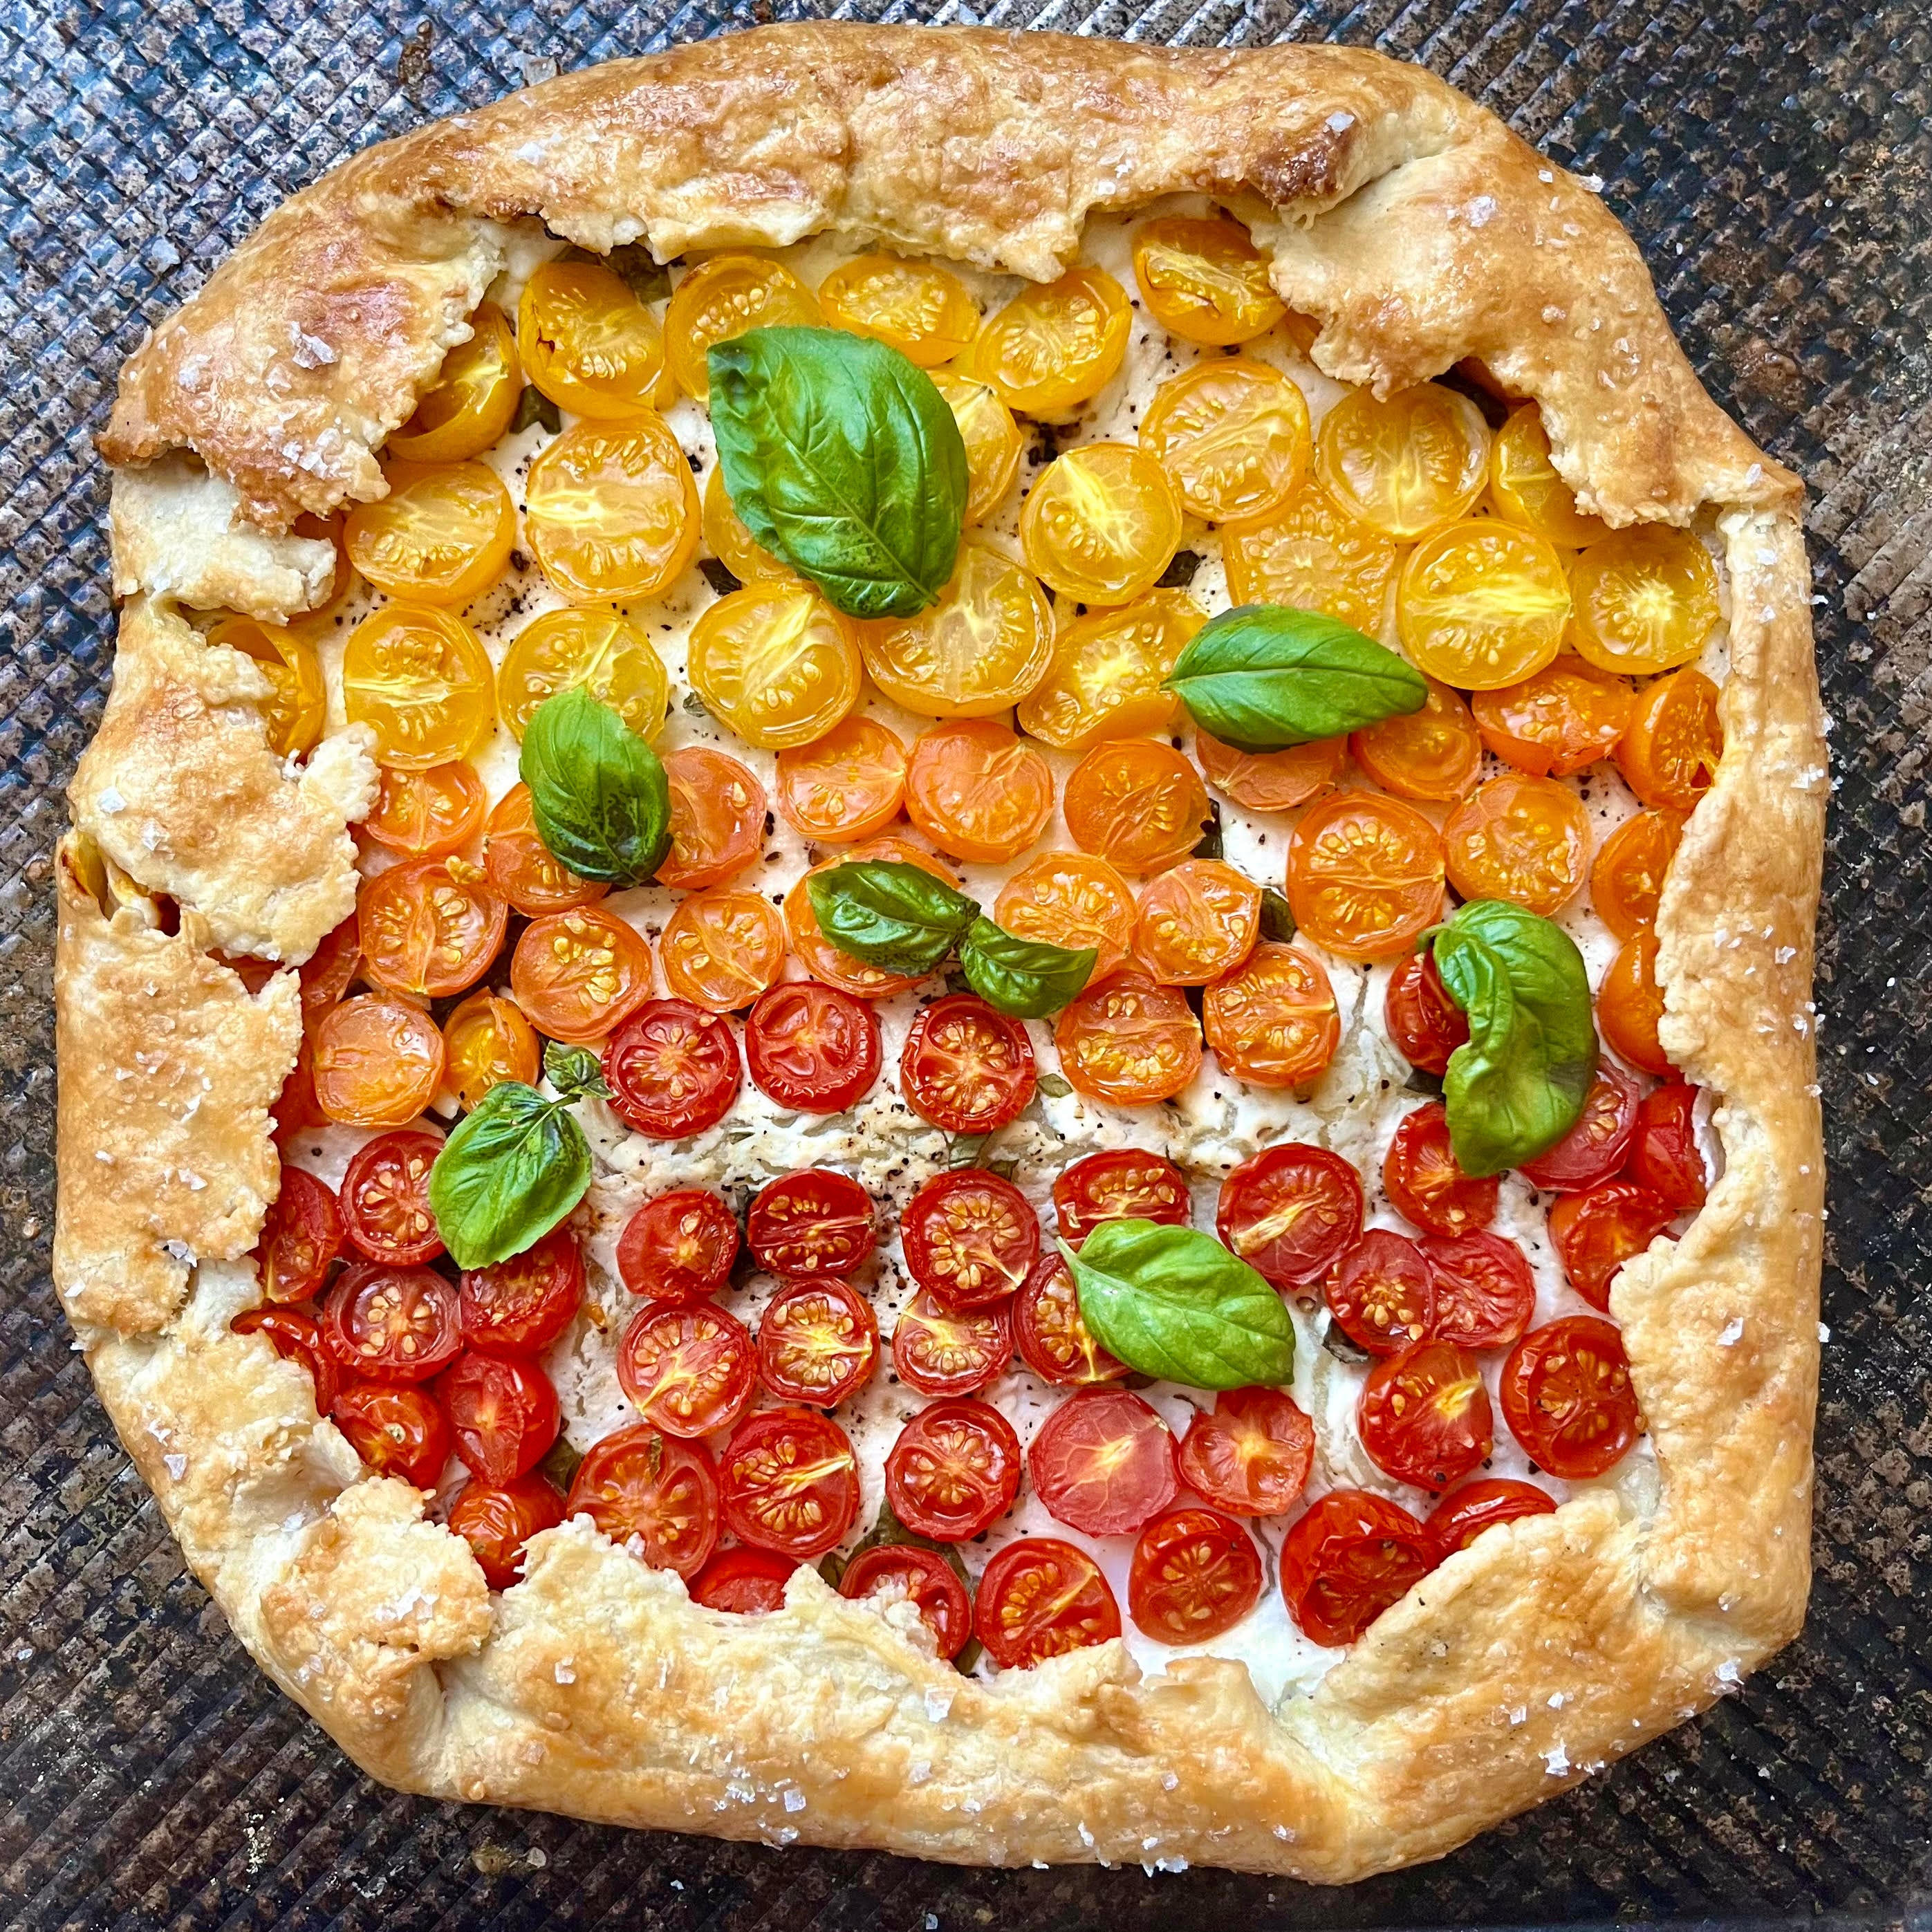
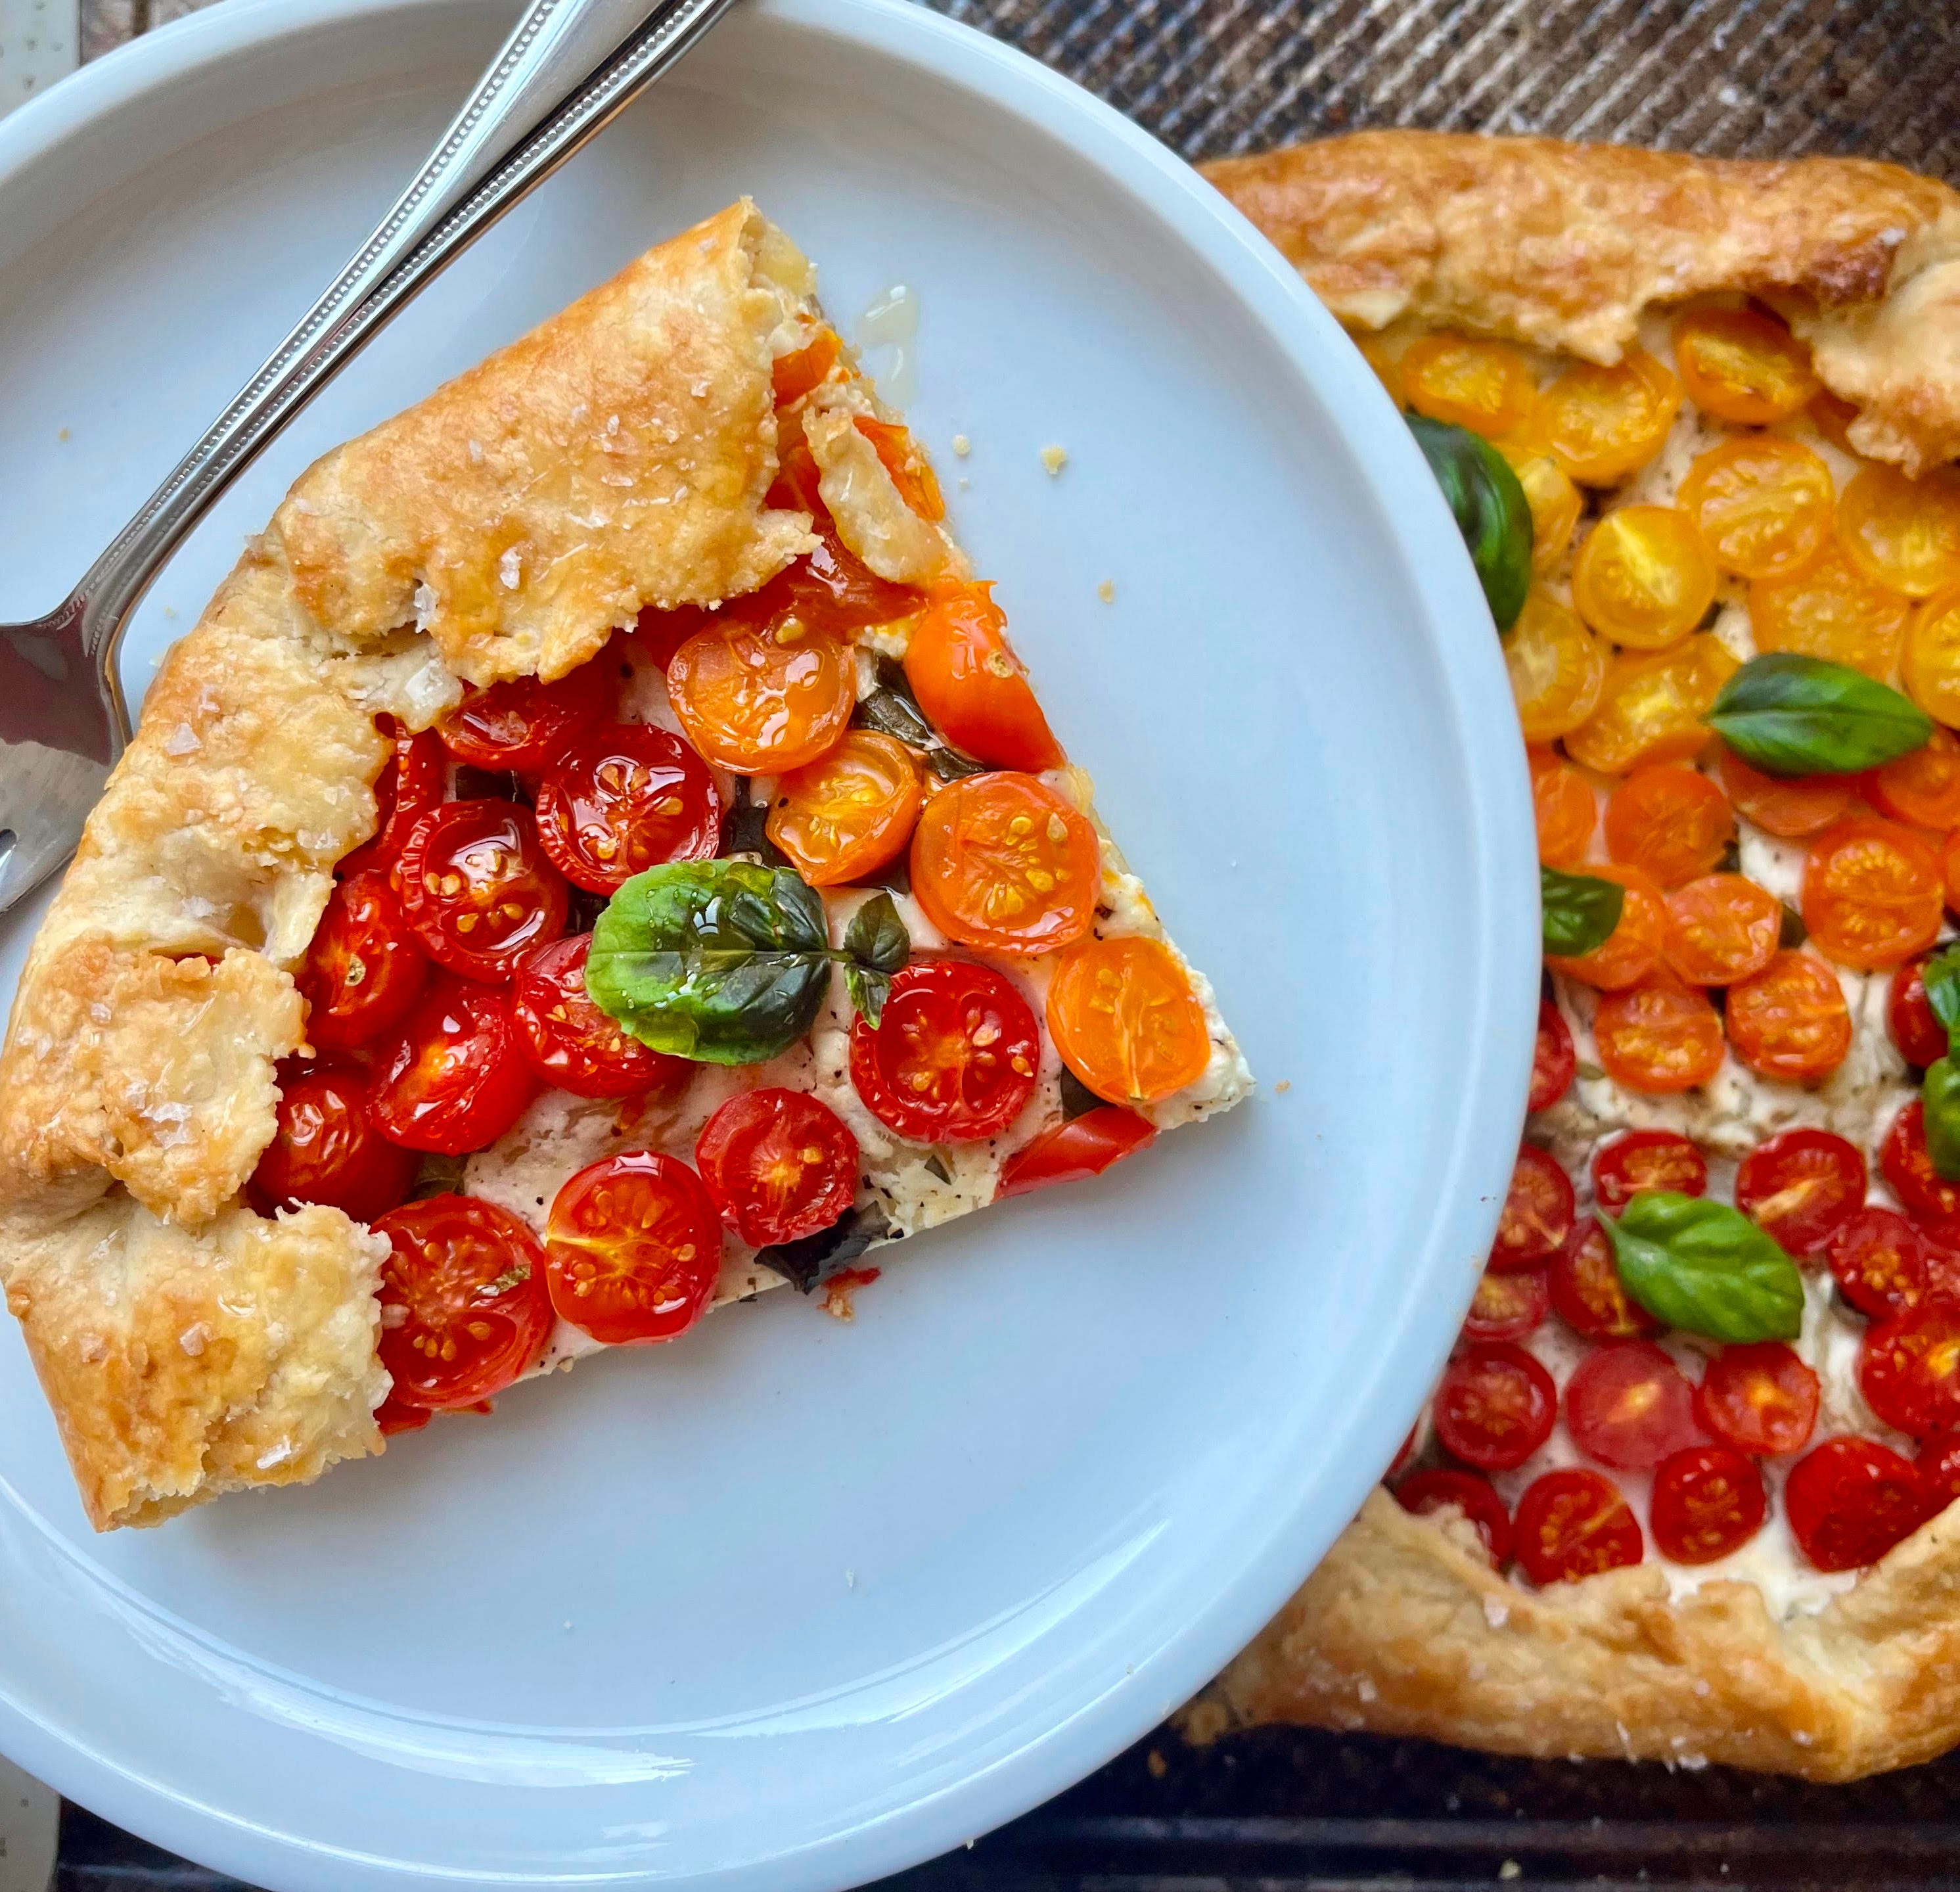
Et voila. I give you, the (gradient) garden tomato galette (see what I did there?)
Let’s jump in.

For the galette dough:
1 1/2 cups all-purpose flour
8 tbsp butter (1/2 stick)
5-6 tbsp ice-cold water
1/2 tbsp kosher salt
1 egg, whisked
For the filling:
Small tomato varietals of your choice (multi-colored preferred), halved
Ricotta (full or low fat)
Basil, chopped
Salt and pepper to taste

Instructions:
Retrieve your cold butter from the fridge. Without over-handling the butter (you want it to stay as cold as possible), cut the stick into small cubes.
Combine your flour, salt, and cubed butter. Using two forks, work the butter into the dry mixture (a method called “cutting” your butter, as opposed to creaming it together). In the meantime, fill a small bowl with water and add ice.
I was listening to an old Cherry Bombe Radio episode the other day on a plane (my favorite podcast in the universe), and it was an interview with Smitten Kitchen’s Deb Perelman. She was talking about her baking tips and tricks, and her flicker of genius in mentioning the following tip stuck with me: when cutting together your cold butter and flour, do so with two forks. That way, the warmth of your hands doesn’t melt the butter (and it’s less of a mess, anyways). Those who bake already know this–but it’s a helpful tip if you don’t have fancy tools like a pastry cutter or food processor available!
Once the butter looks like small bean-sized bits within the mixture, slowly add one tbsp of ice water at a time, continuing to incorporate each addition. Note, that you don’t want the butter to melt and fully incorporate into the dough, so be mindful when mixing in the water.
The dough should come together after 4-6 tbsp of water. Form it into a ball, cover it in saran wrap or place it in a plastic bag, and put it in the fridge for at least one hour.
In the meantime, you can begin cutting your tomatoes and arranging your desired color pattern. This is a very satisfying exercise, especially for my type A girlies.
Cut your tomatoes in halves. Using a sharp knife here is essential to avoid squishing or pushing all of the juice out of your baby tomatoes. Combine your ricotta with chopped basil, salt, and pepper to taste.
If you want to level up the flavor here, I recommend sautéeing some shallots or onions and adding them into the ricotta base.
Once the dough has chilled, remove it from the fridge and flour a work surface. Preheat your oven to 400ºF. Using a rolling pin, flatten out your ball of dough into a large, thin sheet. Transfer your dough sheet onto a baking sheet.
Grab your ricotta base, and begin to add a thin layer to the middle of the dough, spreading it across the entire dough sheet, leaving a 1in diameter of the edge un-filled.
Add your tomatoes on top of the ricotta base. This is the fun part–I arrange my tomatoes in a gradient fashion, starting with red, moving into orange, then yellow. You can arrange it however you’d like.
Once your filling and tomatoes are placed, begin folding the edges of the galette dough inward, about 1/2-1in. This is the act of “sealing” the filling into the galette, while still allowing the majority of it to be exposed. The edges will fold over one another in a rugged fashion.
As mentioned above, the edges do not have to be perfect. It’s better if they are rugged, as they will be folded over the edges of the galette and will create a nice visual texture.
Crack and mix one egg (or just the egg yolk for a darker browning) and brush the egg over the outside edges of the galette. This will give it a beautiful color and extra crisp. Bake for 20-25 minutes, or until the edges are golden brown, and the filling is sizzling.
Cut and serve with basil on top and a drizzle of hot honey or olive oil.